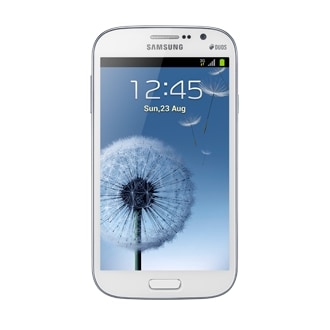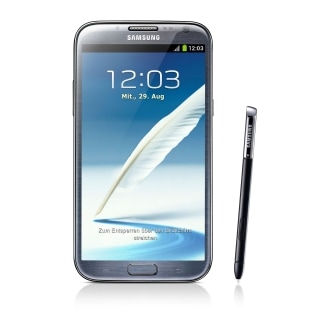
How to Update Galaxy Note 2 LTE N7105 with Android 4 3 XXUEMK9 Jelly Bean Official Firmware

Samsung Galaxy Note 2 with LTE connectivity (GT-N7105) has received the Android 4.3 Jelly Bean update with base firmware XXUEMK9. The new official firmware is now available in Germany as an Over-The-Air (OTA) update as well as through Samsung KIES.

Firmware details
PDA: N7105XXUEMK9
CSC: N7105DBTEMK1
MODEM: N7105XXUEMJ9
Version: Android 4.3
Build date: Nov 20, 2013
Regions: Germany

Samsung Galaxy Note 2 (LTE) N7105 users who missed the OTA update notification or unable to access the update over Samsung KIES, and those who are residing outside Germany can now download and install the same manually, using our step-by-step guide.

Pre-requisites
1. Install USB Drivers for Samsung Galaxy Note 2 on the computer.
2. Enable USB Debugging Mode on the phone by navigating to Settings >> Developer Options.
3. Make a backup of all your important data before following the guide.
4. The Galaxy Note 2 should be factory unlocked and not locked to any particular carrier.
5. Ensure the battery of the phone is charged more than 80 percent.
6. The Android 4.3 XXUEMK9 Jelly Bean firmware is compatible only with the LTE version of Samsung Galaxy Note 2 (GT-N7105). Applying this to any incorrect variant might brick the device. Verify the model number of the Galaxy Note 2 by navigating to Settings >> About Phone.

Files Required
1. Android 4.3 XXUEMK9 Jelly Bean Firmware (Mirror Link) for Galaxy Note 2 (LTE) N7105
2. Odin 3.07 (Mirror Link)

Steps to Update Galaxy Note 2 (LTE) N7105 with Android 4.3 XXUEMK9 Jelly Bean Firmware
Step 1: Extract Firmware zip file using WinRAR/7-Zip/WinZip or any other extracting tool, you will get a .tar.md5 file and some other files (optional).
Step 2: Extract Odin zip file and you will get Odin3 v3.07.exe along with few other files.
Step 3: Switch off the Galaxy Note 2.
Step 4: Boot the device into Download Mode by pressing and holding Volume Down, Home and Power buttons together until a construction Android robot icon with a warning triangle appears on screen. Now press the Volume Up button to enter Download Mode.
Step 5: Run Odin on the computer as an Administrator.
Step 6: Connect the Galaxy Note 2 to the computer using USB cable while it is in the Download Mode. Wait until Odin detects the device. When the device is connected successfully, the ID: COM box will turn to light blue with the COM port number. Additionally, the successful connected will be indicated by a message saying Added.

Note: If the Added message does not appear, then try re-install USB drivers or changing the port on the computer.

Step 7: Select the following files in Odin from extracted N7105XXUEMK9 firmware folder:
  • Click the PDA button and select the .tar.md5 file.
  • Click the Phone button and select file with MODEM in its name. Ignore if there is no such file.
  • Click the CSC button and select file with CSC in its name. Ignore if there is no such file.
  • Click the PIT button and select the .pit file. Ignore if there is no such file.
Step 8: In Odin, enable Auto Reboot and F. Reset Time checkboxes. Also, ensure the Re-Partition checkbox is chosen only if a .pit file was chosen in the previous step.
Step 9: Verify everything suggested in Step 7 and Step 8 is done correctly. Then hit the Start button to begin the installation process.
Step 10: Once the installation process is completed, your phone will restart and soon you will see a PASS message with green background in the left-most box at the very top of the Odin. You can now unplug the USB cable to disconnect it from the computer.

Samsung Galaxy Note 2 (LTE) N7105 should be now updated with official Android 4.3 XXUEMK9 Jelly Bean. Head over to Settings >> About Phone to verify the software version running on the device.

Note: If Galaxy Note 2 (LTE) N7105 stuck at booting animation after Step 10 then go to recovery mode (press and hold the Volume Up and Power buttons together) and perform Wipe data/Factory Reset and Wipe Cache Partition task before selecting reboot system now function. In recovery mode use Volume keys to navigate between options and Power key to select the option. Please note, performing wiping task will erase your device internal memory data and not external SD card data.
Read More..

How to Update Galaxy S2 Plus I9105 with Android 4 2 2 XXUBML1 Jelly Bean Official Firmware

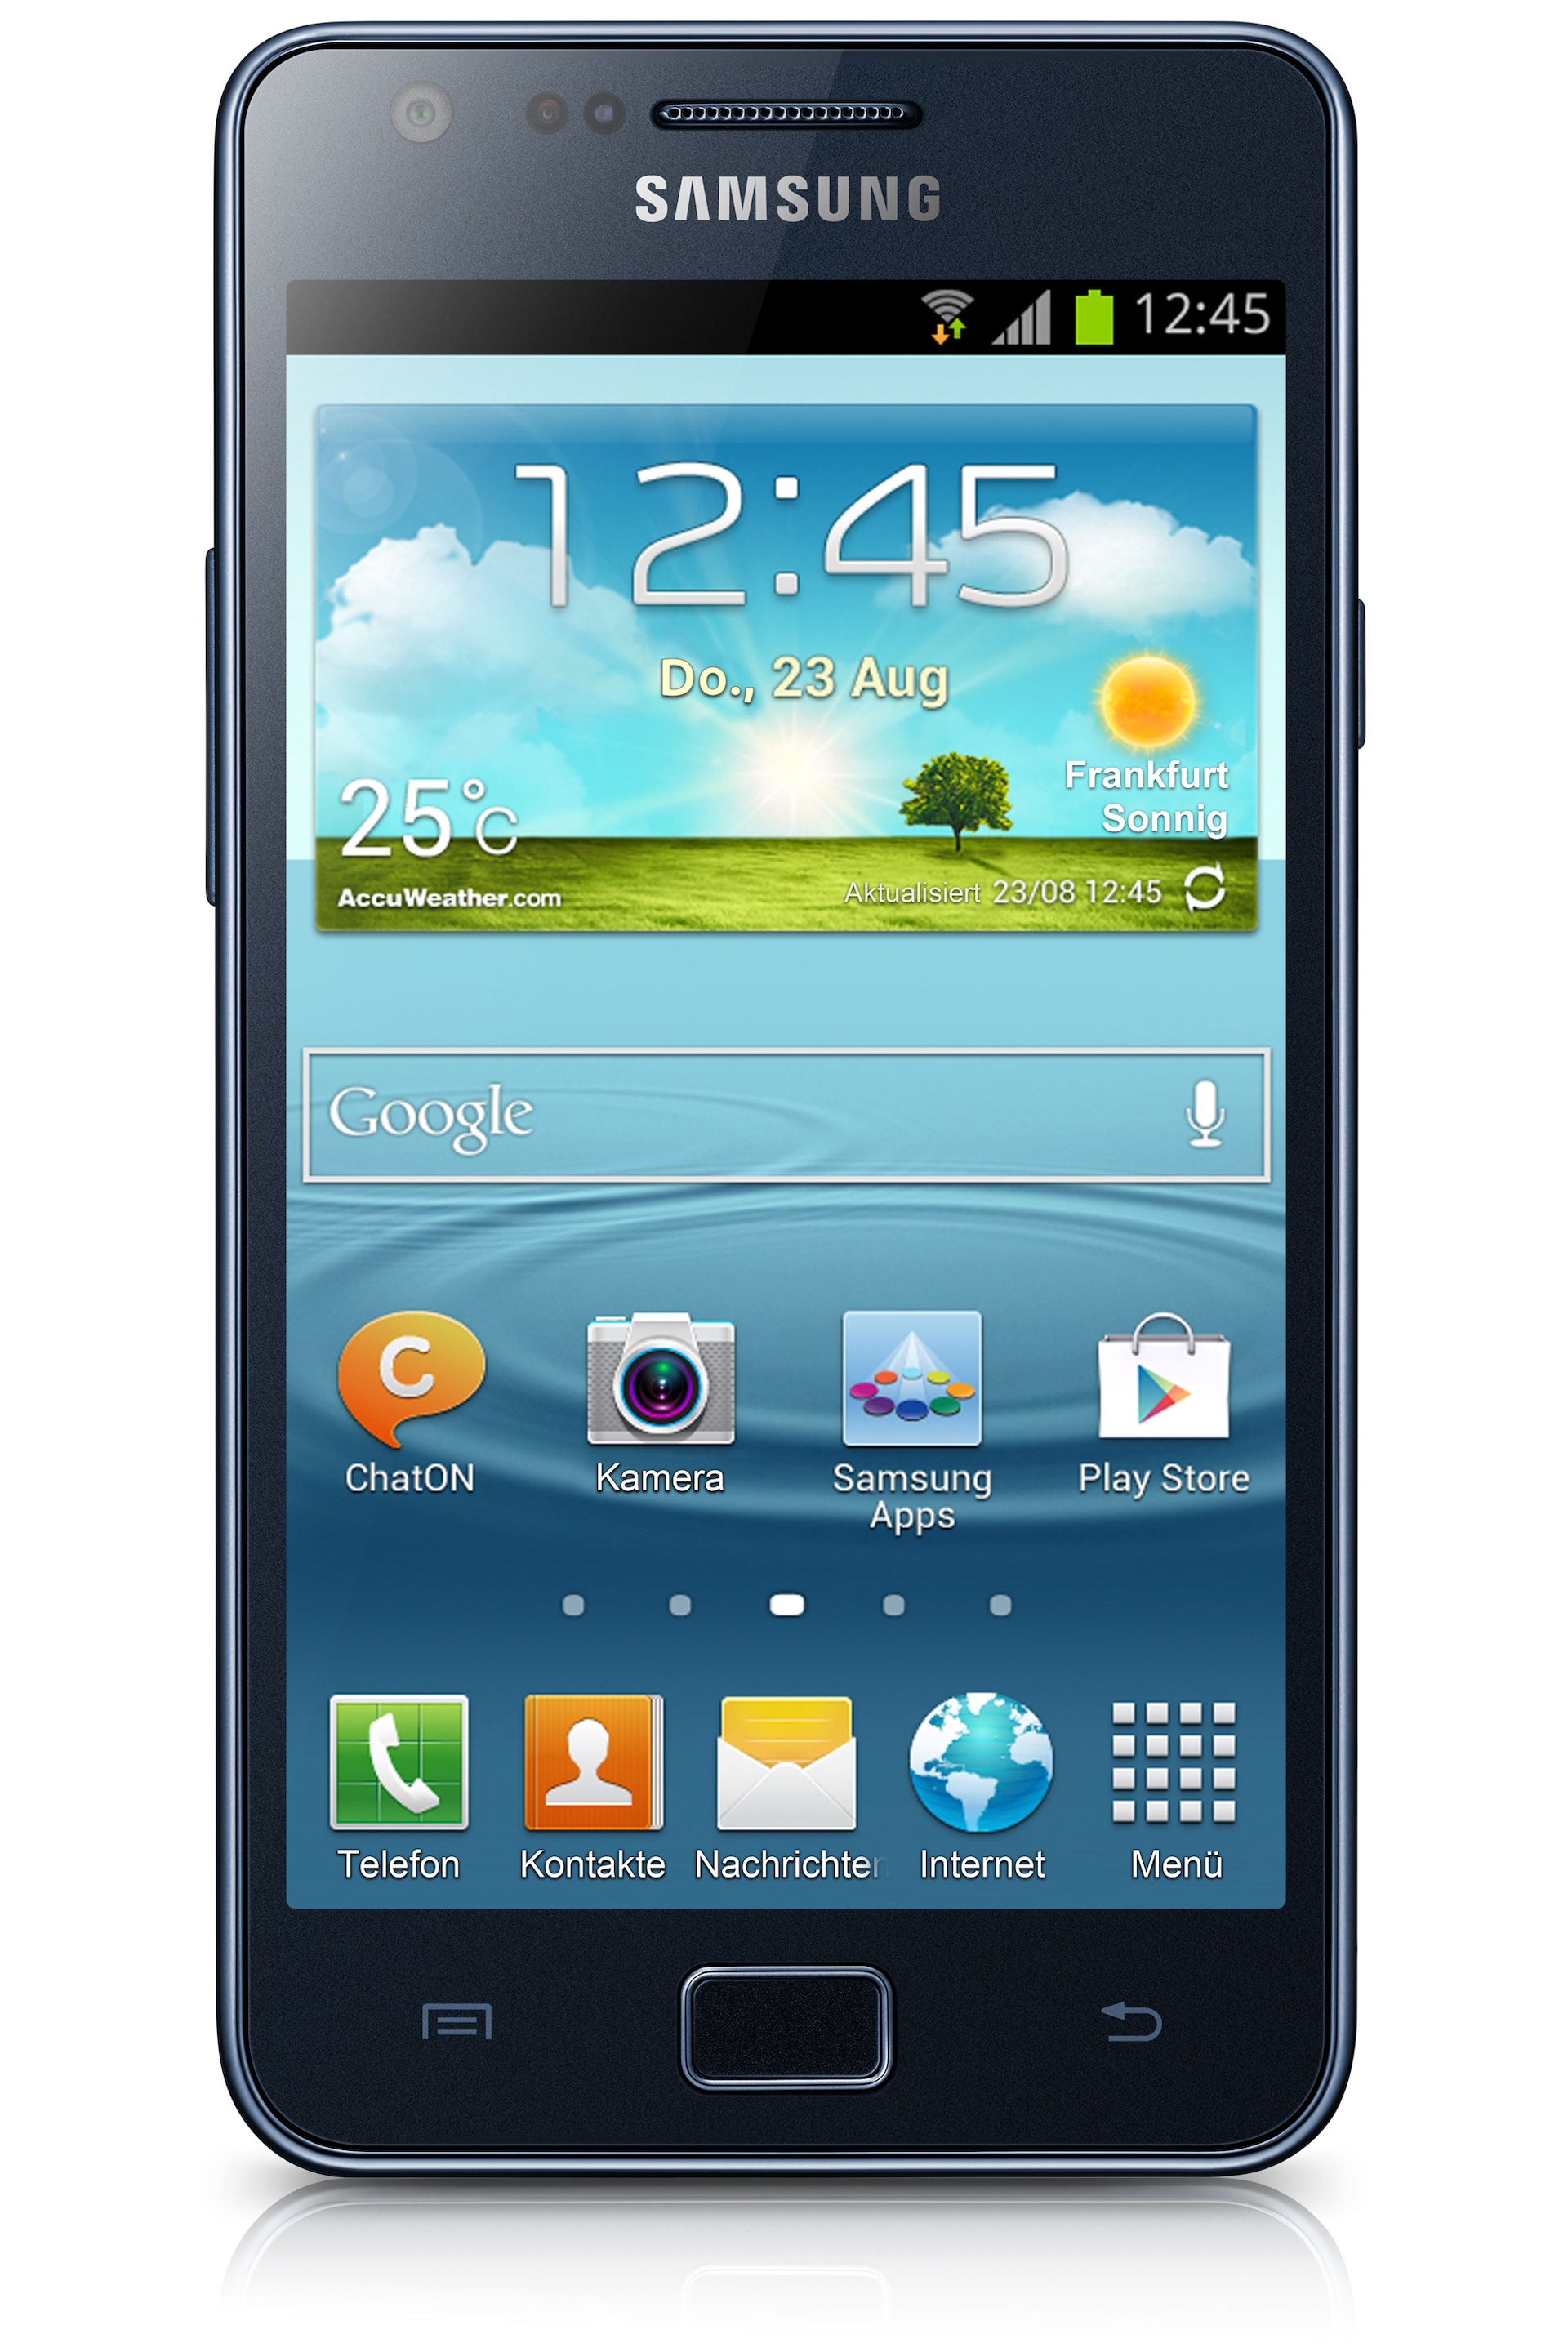
Samsung has rolled out another Android 4.2.2 Jelly Bean update with firmware build number I9105XXUBML1 for the Non-NFC version of Galaxy S2 Plus with model number GT-I9105. The new official update is now available as an Over-The-Air (OTA) update as well as through Samsung KIES.

Firmware details
PDA: I9105XXUBML1
CSC: I9105OXEBML1
MODEM: I9105XXUBMK1
Version: Android 4.2.2
Built date: Dec 17, 2013
Regions: Russia

Samsung Galaxy S2 Plus I9105 users who missed the OTA update notification or unable to access the update over Samsung KIES, and those who are residing outside Russia can now download and install the same manually, using our step-by-step guide.

Pre-requisites
1. Install USB Drivers for Samsung Galaxy S2 Plus on the computer.
2. Enable USB Debugging Mode on the phone by navigating to Settings >> Developer Options.
3. Make a backup of all your important data before following the guide.
4. The Galaxy S2 Plus should be factory unlocked and not locked to any particular carrier.
5. Ensure the battery of the phone is charged more than 80 percent.
6. The Android 4.2.2 XXUBML1 Jelly Bean firmware is compatible only with Samsung Galaxy S2 Plus I9105. Applying this to any incorrect variant might brick the device. Verify the model number of the Galaxy S2 Plus by navigating to Settings >> About Phone.

Files Required
1. Android 4.2.2 XXUBML1 Jelly Bean Firmware (Mirror Link) for Samsung Galaxy S2 Plus I9105
2. Odin 3.07 (Mirror Link)

Steps to Update Galaxy S2 Plus I9105 with Android 4.2.2 XXUBML1 Jelly Bean Firmware
Step 1: Extract Firmware zip file using WinRAR/7-Zip/WinZip or any other extracting tool, you will get a .tar.md5 file and some other files (optional).
Step 2: Extract Odin zip file and you will get Odin3 v3.07.exe along with few other files.
Step 3: Switch off the Galaxy S2 Plus.
Step 4: Boot the device into Download Mode by pressing and holding Volume Down, Home and Power buttons together until a construction Android robot icon with a warning triangle appears on screen. Now press the Volume Up button to enter Download Mode.
Step 5: Run Odin on the computer as an Administrator.
Step 6: Connect the Galaxy S2 Plus to the computer using USB cable while it is in the Download Mode. Wait until Odin detects the device. When the device is connected successfully, the ID: COM box will turn to light blue with the COM port number. Additionally, the successful connected will be indicated by a message saying Added.

Note: If the Added message does not appear, then try re-install USB drivers or changing the port on the computer.

Step 7: Select the following files in Odin from extracted I9105XXUBML1 firmware folder:
  • Click the PDA button and select the .tar.md5 file.
  • Click the Phone button and select file with MODEM in its name. Ignore if there is no such file.
  • Click the CSC button and select file with CSC in its name. Ignore if there is no such file.
  • Click the PIT button and select the .pit file. Ignore if there is no such file.
Step 8: In Odin, enable Auto Reboot and F. Reset Time checkboxes. Also, ensure the Re-Partition checkbox is chosen only if a .pit file was chosen in the previous step.
Step 9: Verify everything suggested in Step 7 and Step 8 is done correctly. Then hit the Start button to begin the installation process.
Step 10: Once the installation process completes, your phone will restart and soon you will see a PASS message with green background in the left-most box at the very top of the Odin. You can now unplug the USB cable to disconnect your device from the computer.

Samsung Galaxy S2 Plus I9105 should be now updated with official Android 4.2.2 XXUBML1 Jelly Bean. Head over to Settings >> About Phone to verify the software version running on the device.

Note: If Galaxy S2 Plus I9105 stuck at booting animation after Step 10 then go to recovery mode (press and hold the Volume Up, Home and Power buttons together) and perform Wipe data/Factory Reset and Wipe Cache Partition task before selecting reboot system now function. In recovery mode use Volume keys to navigate between options and Power key to select the option. Please note, performing wiping task will erase your device internal memory data and not external SD card data.
Read More..

How to Root Galaxy S2 I9100 on Android 4 1 2 Jelly Bean Firmware

Samsung recently started rolling out its official Android 4.1.2 Jelly Bean firmware update for the Samsung Galaxy S2 bearing model number GT-I9100 in several countries. The new official firmware is now available for download through Samsung KIES as well as Over-The-Air (OTA) update.

Samsung Galaxy S2 I9100 users who have already updated their devices with Android 4.1.2 Jelly Bean, may root their devices using the tutorial below.

Disclaimer: Rooting voids the warranty of your device. We and the developer of this rooting procedures shall not be held responsible if any undesirable outcomes may happen to your device. use of this root guide is solely at your own risk!

Pre-requisites
1) Install USB Driver for Samsung Galaxy S2 on the computer.
2) Enable USB Debugging Mode on the phone.
3) Make a backup of all your important data before following the guide.
4) The Galaxy S2 should be factory unlocked and not locked to any particular carrier.
5) Ensure the battery of the phone is charged more than 80 per cent.
6) The Root Kernel file works only on Samsung Galaxy S2 I9100 running on Android 4.1.2 Jelly Bean firmware. Applying this on any incorrect variant will brick the device. Verify the model number of the Galaxy S2 by navigating to Settings >> About Phone.

File Required
1. Root Kernel for Galaxy S2 I9100: Siyah-s2-v6.0b4.tar or Siyah-s2-v6.0b5.tar
2. Odin 3.07

Steps to Root Galaxy S2 I9100 Running on Android 4.1.2 Jelly Bean Firmware
Step 1: Extract Odin 3.07 file using winrar/7zip/winzip or any other extracting tool.
Step 2: Switch off the Galaxy S2. Then boot the device into Download Mode by pressing and holding Volume Down + Home buttons together and then press the Power button until the device turns on. Now press the Volume Up button to enter Download Mode.
Step 3: Launch Odin on the computer.
Step 4: Connect the Galaxy S2 to the computer using USB cable while it is in the Download Mode. Wait until Odin detects the device. When the device is connected successfully, the ID: COM box will turn yellow with the COM port number. Additionally, the successful connected will be indicated by a message saying Added. If Odin fails to detect the device then re-install USB driver.
Step 5: In Odin, click the PDA button and select the Root Kernel file.
Step 6: Verify that Auto Reboot and F.Reset Time checkboxes are selected in Odin. Also, ensure the Re-Partition option in Odin is not selected.
Step 7: Double-check and click Start in Odin. The installation process will now begin.
Step 8: Once flashing completed, your phone will restart and soon you will see a PASS message with green background in the left-most box at the very top of the Odin. You can now unplug the USB cable to disconnect your device from computer.

Samsung Galaxy S2 I9100 running on Android 4.1.2 Jelly Bean firmware is now rooted successfully. You may now install any app that requires root permission.

Thanks to all fellas at XDA who first tried out this rooting technique. This root method was originally posted via XDA-Developers.
Read More..

How to Update Galaxy S4 LTE I9505 with Leaked Android 4 4 2 XXUFNA5 KitKat Test Firmware

Another Android 4.4.2 KitKat test firmware has been leaked for the Qualcomm Snapdragon 800 variant of the Samsung Galaxy S4 (LTE) bearing model number GT-I9505.

Firmware details
PDA: I9505XXUFNA5
CSC: I9505OXAFNA5
MODEM: I9505XXUFNA5
Version: Android 4.4.2
Build date: Jan 14, 2014
Regions: Open Europe

According to SamMobile report, the Android 4.4.2 XXUFNA5 KitKat test firmware brings a host of bug-fixes and feature enhancements over its previous test build.

Samsung Galaxy S4 (LTE) I9505 users can now update their devices with the leaked version of Android 4.4.2 KitKat firmware by following the tutorial below.

Pre-requisites
1. Install USB Drivers for Samsung Galaxy S4 on the computer.
2. Enable USB Debugging Mode on the phone by navigating to Settings >> Developer Options.
3. Make a backup of all your important data before following the guide.
4. The Galaxy S4 should be factory unlocked and not locked to any particular carrier.
5. Ensure the battery of the phone is charged more than 80 percent.
6. The Android 4.4.2 XXUFNA5 KitKat firmware is compatible only with the LTE version of Samsung Galaxy S4 (GT-I9505). Applying this to any incorrect variant might brick the device. Verify the model number of the Galaxy S4 by navigating to Settings >> About Phone.

Files Required
1. Android 4.4.2 XXUFNA5 KitKat Firmware for Galaxy S4 (LTE) I9505
2. Odin 3.09 (Mirror Link)

Steps to Update Galaxy S4 (LTE) I9505 with Android 4.4.2 XXUFNA5 KitKat Firmware
Step 1: Extract Firmware zip file using WinRAR/7-Zip/WinZip or any other extracting tool.
Step 2: Extract Odin zip file and you will get Odin3 v3.09.exe along with few other files.
Step 3: Switch off the Galaxy S4.
Step 4: Boot the device into Download Mode by pressing and holding Volume Down, Home and Power buttons together until a construction Android robot icon with a warning triangle appears on screen. Now press the Volume Up button to enter Download Mode.
Step 5: Run Odin on the computer as an Administrator.
Step 6: Connect the Galaxy S4 to the computer using USB cable while it is in the Download Mode. Wait until Odin detects the device. When the device is connected successfully, the ID: COM box will turn to light blue with the COM port number. Additionally, the successful connected will be indicated by a message saying Added.

Note: If the Added message does not appear, then try re-install USB drivers or changing the port on the computer.

Step 7: Select the following files in Odin from extracted I9505XXUFNA5 firmware folder:
  • Click the BL button and select file with BL in its name.
  • Click the AP button and select file with AP in its name.
  • Click the CP button and select file with CP in its name.
  • Click the CSC button and select file with CSC in its name.
Step 8: In Odin, enable Auto Reboot and F. Reset Time checkboxes. Also, ensure the Re-Partition option is NOT selected.
Step 9: Verify everything suggested in Step 7 and Step 8 is done correctly. Then hit the Start button to begin the installation process.
Step 10: Once the installation process completes, your phone will restart and soon you will see a PASS message with green background in the left-most box at the very top of the Odin. You can now unplug the USB cable to disconnect your device from the computer.

Samsung Galaxy S4 (LTE) I9505 should be now updated with leaked Android 4.4.2 XXUFNA5 KitKat firmware. Head over to Settings >> About Phone to verify the software version running on the device.

Note: If Galaxy S4 (LTE) I9505 stuck at booting animation after Step 10 then go to recovery mode (press and hold the Volume Up, Home and Power buttons together) and perform Wipe data/Factory Reset and Wipe Cache Partition task before selecting reboot system now function. In recovery mode use Volume keys to navigate between options and Power key to select the option. Please note, performing wiping task will erase your device internal memory data and not external SD card data.

Read More..

How to Update Galaxy Tab 3 7 0 Sprint SM T217S with Android 4 2 2 VPUANB8 Jelly Bean Official Firmware

The Sprint version of Samsung Galaxy Tab 3 7.0 with model number SM-T217S has already received a new Android 4.2.2 Jelly Bean update with base firmware T217SVPUANB8. The new official firmware is currently available as an Over-The-Air (OTA) update as well as through Samsung KIES.

Firmware details
PDA: T217SVPUANB8
CSC: T217SSPTANB8
MODEM: T217SVPUANB8
Version: Android 4.2.2
Build date: Feb 16, 2014
Regions: U.S. (Sprint)

Enhancements/Fixes
- KNOX
- WiFi improvements
- WiFi "Auto network switch" will be default to off , this change will suppress "Your internet connection is unstable" from notification bar. Allowing customers to connect to any WiFi connection regardless of the condition of the WiFi network.

Samsung Galaxy Tab 3 7.0 (Sprint) SM-T217S users who missed the OTA update notification or unable to access the update over Samsung KIES, may follow our step-by-step guide to install the update manually.

Pre-requisites
1. Install USB Drivers for Samsung Galaxy Tab 3 7.0 on the computer.
2. Enable USB Debugging Mode on your tablet by navigating to Settings >> Developer Options.
3. Make a backup of all your important data before following the guide.
4. Ensure the battery of the tablet is charged more than 80 percent.
5. The Android 4.2.2 VPUANB8 Jelly Bean firmware is compatible only with the Sprint version of Galaxy Tab 3 7.0 (SM-T217S). Applying this to any incorrect variant might brick the device. Verify the model number of the Galaxy Tab 3 7.0 by navigating to Settings >> About Phone.

Files Required
1. Android 4.2.2 VPUANB8 Jelly Bean Firmware (Mirror Link)
2. Odin 3.07

Steps to Update Galaxy Tab 3 7.0 (Sprint) SM-T217S with Android 4.2.2 VPUANB8 Jelly Bean Firmware
Step 1: Extract Firmware zip file using WinRAR/7-Zip/WinZip or any other extracting tool, you will get a .tar.md5 file and some other files (optional).
Step 2: Extract Odin zip file and you will get Odin3 v3.07.exe along with few other files.
Step 3: Switch off the Galaxy Tab 3 7.0.
Step 4: Boot the device into Download Mode by pressing and holding Volume Down, Home and Power buttons together until a construction Android robot icon with a warning triangle appears on screen. Now press the Volume Up button to enter Download Mode.
Step 5: Run Odin on the computer as an Administrator.
Step 6: Connect the Galaxy Tab 3 7.0 to the computer using USB cable while it is in the Download Mode. Wait until Odin detects the device. When the device is connected successfully, the ID: COM box will turn to light blue with the COM port number. Additionally, the successful connected will be indicated by a message saying Added.

Step 7: Select the following files in Odin from extracted T217SVPUANB8 firmware folder:
  • Click the PDA button and select the .tar.md5 file.
  • Click the Phone button and select file with MODEM in its name. Ignore if there is no such file.
  • Click the CSC button and select file with CSC in its name. Ignore if there is no such file.
  • Click the PIT button and select the .pit file. Ignore if there is no such file.
Step 8: In Odin, enable Auto Reboot and F. Reset Time checkboxes. Also, ensure the Re-Partition checkbox is chosen only if a .pit file was chosen in the previous step.
Step 9: Verify everything suggested in Step 7 and Step 8 is done correctly. Then hit the Start button to begin the installation process.
Step 10: Once the installation process completes, your device will restart and soon you will see a PASS message with green background in the left-most box at the very top of the Odin. You can now unplug the USB cable to disconnect your tablet from the computer.

Samsung Galaxy Tab 3 7.0 (Sprint) SM-T217S should be now updated with the Android 4.2.2 VPUANB8 Jelly Bean official firmware. Head over to Settings >> About Phone to verify the software version running on the device.

Note: If Galaxy Tab 3 7.0 (Sprint) SM-T217S stuck at booting animation after Step 10 then go to recovery mode (press and hold the Volume Up, Home and Power buttons together) and perform Wipe data/Factory Reset and Wipe Cache Partition task before selecting reboot system now function. In recovery mode use Volume keys to navigate between options and Power key to select the option. Please note, performing wiping task will erase your device internal memory data and not external SD card data.

Read More..

How to Update Galaxy Young Duos S6312 with Android 4 1 2 XXAML1 Jelly Bean Official Firmware

Samsung has released another Android 4.1.2 Jelly Bean update with firmware build number S6312XXAML1 for Galaxy Young with dual SIM card slot (GT-S6312). The new official firmware is now available as an Over-The-Air (OTA) update as well as through Samsung KIES.

Firmware details
PDA: S6312XXAML1
CSC: S6312ODDAML1
MODEM: S6312DDAML1
Version: Android 4.1.2
Build date: Dec 13, 2013
Regions: India

Samsung Galaxy Young Duos S6312 users who missed the OTA update notification or unable to access the update over Samsung KIES, can now download and install the same manually using our step-by-step guide.

Pre-requisites
1. Install USB Drivers for Samsung Galaxy Young on the computer.
2. Enable USB Debugging Mode on the phone by navigating to Settings >> Developer Options.
3. Make a backup of all your important data before following the guide.
4. The Galaxy Young should be factory unlocked and not locked to any particular carrier.
5. Ensure the battery of the phone is charged more than 80 percent.
6. The Android 4.1.2 XXAML1 Jelly Bean firmware is compatible only with the Samsung Galaxy Young Duos (GT-S6312). Applying this to any incorrect variant might brick the device. Verify the model number of the Galaxy Young by navigating to Settings >> About Phone.

Files Required
1. Android 4.1.2 XXAML1 Jelly Bean Firmware (Mirror Link)
2. Odin 3.07 (Mirror Link)

Steps to Update Galaxy Young Duos S6312 with Android 4.1.2 XXAML1 Jelly Bean Firmware
Step 1: Extract Firmware zip file using WinRAR/7-Zip/WinZip or any other extracting tool, you will get a .tar.md5 file and some other files (optional).
Step 2: Extract Odin zip file and you will get Odin3 v3.07.exe along with few other files.
Step 3: Switch off the Galaxy Young.
Step 4: Boot the device into Download Mode by pressing and holding Volume Down, Home and Power buttons together until a construction Android robot icon with a warning triangle appears on screen. Now press the Volume Up button to enter Download Mode.
Step 5: Run Odin on the computer as an Administrator.
Step 6: Connect the Galaxy Young to the computer using USB cable while it is in the Download Mode. Wait until Odin detects the device. When the device is connected successfully, the ID: COM box will turn to light blue with the COM port number. Additionally, the successful connected will be indicated by a message saying Added.

Note: If the Added message does not appear, then try re-install USB drivers or changing the port on the computer.

Step 7: Select the following files in Odin from extracted S6312XXAML1 firmware folder:
  • Click the PDA button and select the .tar.md5 file.
  • Click the Phone button and select file with MODEM in its name. Ignore if there is no such file.
  • Click the CSC button and select file with CSC in its name. Ignore if there is no such file.
  • Click the PIT button and select the .pit file. Ignore if there is no such file.
Step 8: In Odin, enable Auto Reboot and F. Reset Time checkboxes. Also, ensure the Re-Partition checkbox is chosen only if a .pit file was chosen in the previous step.
Step 9: Verify everything suggested in Step 7 and Step 8 is done correctly. Then hit the Start button to begin the installation process.
Step 10: Once the installation process is completed, your phone will restart and soon you will see a PASS message with green background in the left-most box at the very top of the Odin. You can now unplug the USB cable to disconnect your device from the computer.

Samsung Galaxy Young Duos S6312 should be now updated with official Android 4.1.2 XXAML1 Jelly Bean. Head over to Settings >> About Phone to verify the software version running on the device.

Note: If Galaxy Young Duos S6312 stuck at booting animation after Step 10 then go to recovery mode (press and hold the Volume Up, Home and Power buttons together) and perform Wipe data/Factory Reset and Wipe Cache Partition task before selecting reboot system now function. In recovery mode use Volume keys to navigate between options and Power key to select the option. Please note, performing wiping task will erase your device internal memory data and not external SD card data.
Read More..

How to Update Galaxy Grand Duos I9082 with Android 4 1 2 XXAMF5 Jelly Bean Official Firmware

Samsung recently released another Android 4.1.2 Jelly Bean firmware update with base firmware XXAMF5 for the owners of Samsung Galaxy Grand Duos bearing model number GT-I9082 in Southeast Asia countries. This official firmware is currently available as an Over-The-Air (OTA) update as well as through Samsung KIES.

Firmware details
PDA: I9082XXAMF5
CSC: I9082OLBAMF1
MODEM: I9082XXAME2
Version: Android 4.1.2
Built date: Jun 11, 2013
Regions: Indonesia, Malaysia, Philippines, Singapore, Vietnam, Thailand

Samsung Galaxy Grand Duos I9082 users who missed the OTA update notification or unable to access the update over Samsung KIES, may follow our step-by-step guide to install the update manually.

Pre-requisites
1. Install USB Driver for Samsung Galaxy Grand Duos on the computer.
2. Enable USB Debugging Mode on the phone by navigating to Settings >> Developer Options.
3. Make a backup of all your important data before following the guide.
4. The Galaxy Grand Duos should be factory unlocked and not locked to any particular carrier.
5. Ensure the battery of the phone is charged more than 80 per cent.
6. The Android 4.1.2 XXAMF5 Jelly Bean firmware is compatible only with Samsung Galaxy Grand Duos I9082. Applying this to any incorrect variant might brick the device. Verify the model number of the Galaxy Grand Duos by navigating to Settings >> About Phone.

Files Required
1. Android 4.1.2 XXAMF5 Jelly Bean Firmware for Samsung Galaxy Grand Duos I9082
2. Odin 3.07 (Mirror Link)

Steps to Update Galaxy Grand Duos I9082 with Android 4.1.2 XXAMF5 Jelly Bean Firmware
Step 1: Extract Firmware zip file that you downloaded already from above link using WinRAR/7-Zip/WinZip or any other extracting tool, you will get a .tar.md5 file and some other files.
Step 2: Extract Odin zip file and you will get Odin3 v3.07.exe along with few other files.
Step 3: Power off your phone. Wait 5-6 seconds for vibration to confirm complete switch off.
Step 4: Boot the device into Download Mode by pressing and holding Volume Down + Home buttons together and then press the Power button until the device turns on. Now press the Volume Up button to enter Download Mode.
Step 5: Run Odin on the computer as an Administrator.
Step 6: Connect the Galaxy Grand Duos to the computer using USB cable while it is in the Download Mode. Wait until Odin detects the device. When the device is connected successfully, the ID: COM box will turn yellow with the COM port number. Additionally, the successful connected will be indicated by a message saying Added. If Odin fails to detect the device then re-install USB driver.
Step 7: Choose the following files in Odin from extracted I9082XXAMF5 firmware folder by using respective checkboxes:
  • Select the PDA checkbox, and choose the file named .tar or .md5.
  • Click the Phone checkbox, and choose the file with modem in its name (ignore if there is no such file)
  • Click the CSC checkbox, and select the file with csc in its name (ignore if such file is missing)
  • Choose the PIT checkbox, and choose the .pit file. Use only the file obtained during extracting in step 1 above, otherwise ignore it.
Step 8: In Odin, enable Auto Reboot and F. Reset Time checkboxes. Also, ensure the Re-Partition checkbox is chosen only if a .pit file was chosen in the previous step.
Step 9: Verify everything suggested in Step 7 and Step 8 is done correctly. Then hit the START button to begin the installation process.
Step 10: Once the installation process is completed, your phone will restart and soon you will see a PASS message with green background in the left-most box at the very top of the Odin. You can now unplug the USB cable to disconnect your device from computer.

Samsung Galaxy Grand Duos I9082 should be now updated with official Android 4.1.2 XXAMF5 Jelly Bean firmware. Head over to Settings >> About Phone to verify the software version running on the device.

Note: If Galaxy Grand Duos I9082 stuck at booting animation after Step 10 then go to recovery mode (press and hold the Volume Up, Home and Power buttons together) and perform Wipe data/Factory Reset and Wipe Cache Partition task before selecting reboot system now function. In recovery mode use Volume keys to navigate between options and Power key to select the option. Please note, performing wiping task will erase your device internal memory data and not external SD card data.
Read More..

How To Install Google PLAY v4 1 10 APK On Your Android Device

Cara meng-install Google Play v.4.1.10 APK


Google-Play-Logo.jpg

Langkah 1: Download file APK Google PLAY Store v4.1.10 dari link berikut ini dan simpan. Untuk lebih mudahnya, download langsung dari handphone atau tablet anda. dan jangan merubah nama file-nya.

Step 1: Download the Google PLAY Store v4.1.10 APK file from this link then save to your computer. To make things much easier, you can directly download the file on your Android tablet or smartphone. Do not rename the file and leave it as it is.

Langkah 2: Setelah Download file APK Google PLAY Store v4.1.10 selesai, colok-kan perangkat ke komputer dengan kabel usb. Biasanya termasuk dalam paket pembelian.

Step 2: After you have downloaded and saved the file on your computer, connect your device to your computer using a USB data cable. This is the cable that you got from the time that you’ve purchased your tablet or phone.

Langkah 3: Yang harus ada lakukan sekarang adalah meng-kopi file ke folder sdcard atau memori eksternal prangkat anda.

Step 3: Now, the next thing that you must do is copy the file from your computer then save to the root directory of your device. It would be best if you save the APK file on your phone’s SD card.

Langkah 4: Buka menu > Setting > Aplikasi. Centang opsi Sumber tak dikenal agar ponsel/tablet mengizinkan kita untuk meng-instal aplikasi dari sumber selain Play store-nya google.

Step 4: Go to Settings > Applications. Check the box for ‘Unknown Sources’ to allow your phone to install files that weren’t downloaded from the Google PLAY Store.

Langkah 5: Buka File Manager atau File Explorer, cari file ‘com.android.vending-4.1.10.apk’ yang sudah anda kopi tadi.

Step 5: Launch your device’s File Manager (also known as File Explorer) then locate the APK file that you have downloaded and copied to your tablet or smartphone. Better yet, search and select the file called ‘com.android.vending-4.1.10.apk’.

Langkah 6: Untuk meng-install, buka file dan pilih Terima. Ikuti petunjuk yang di tampilkan. Jika sudah selesai, Google Play Store sudah ter-update

Step 6: To install the file, tap on the ‘Accept’ button. Follow the on-screen instructions for the Google PLAY Store app to be updated to its latest version.

Sekarang anda bisa men-cek apakah sudah ter-update atau belum dengan membuka aplikasi Google Play Store dan membuka bagian Setting. Scroll ke bawah sampai anda menemukan menu Tentang lihat apakah sudah menjadi 4.1.10.

That’s it! If you do want to make sure that your app’s version has been successfully updated to v4.1.10, you can check by launching your app. Click on the Menu key to go to Settings then scroll until you see your app’s ‘About’ section. Check the Build Version and see if it’s on 4.1.10. You can also check the new features.
Read More..

Blog Archive

Powered by Blogger.